How to Get the Digicam Look on a Photo
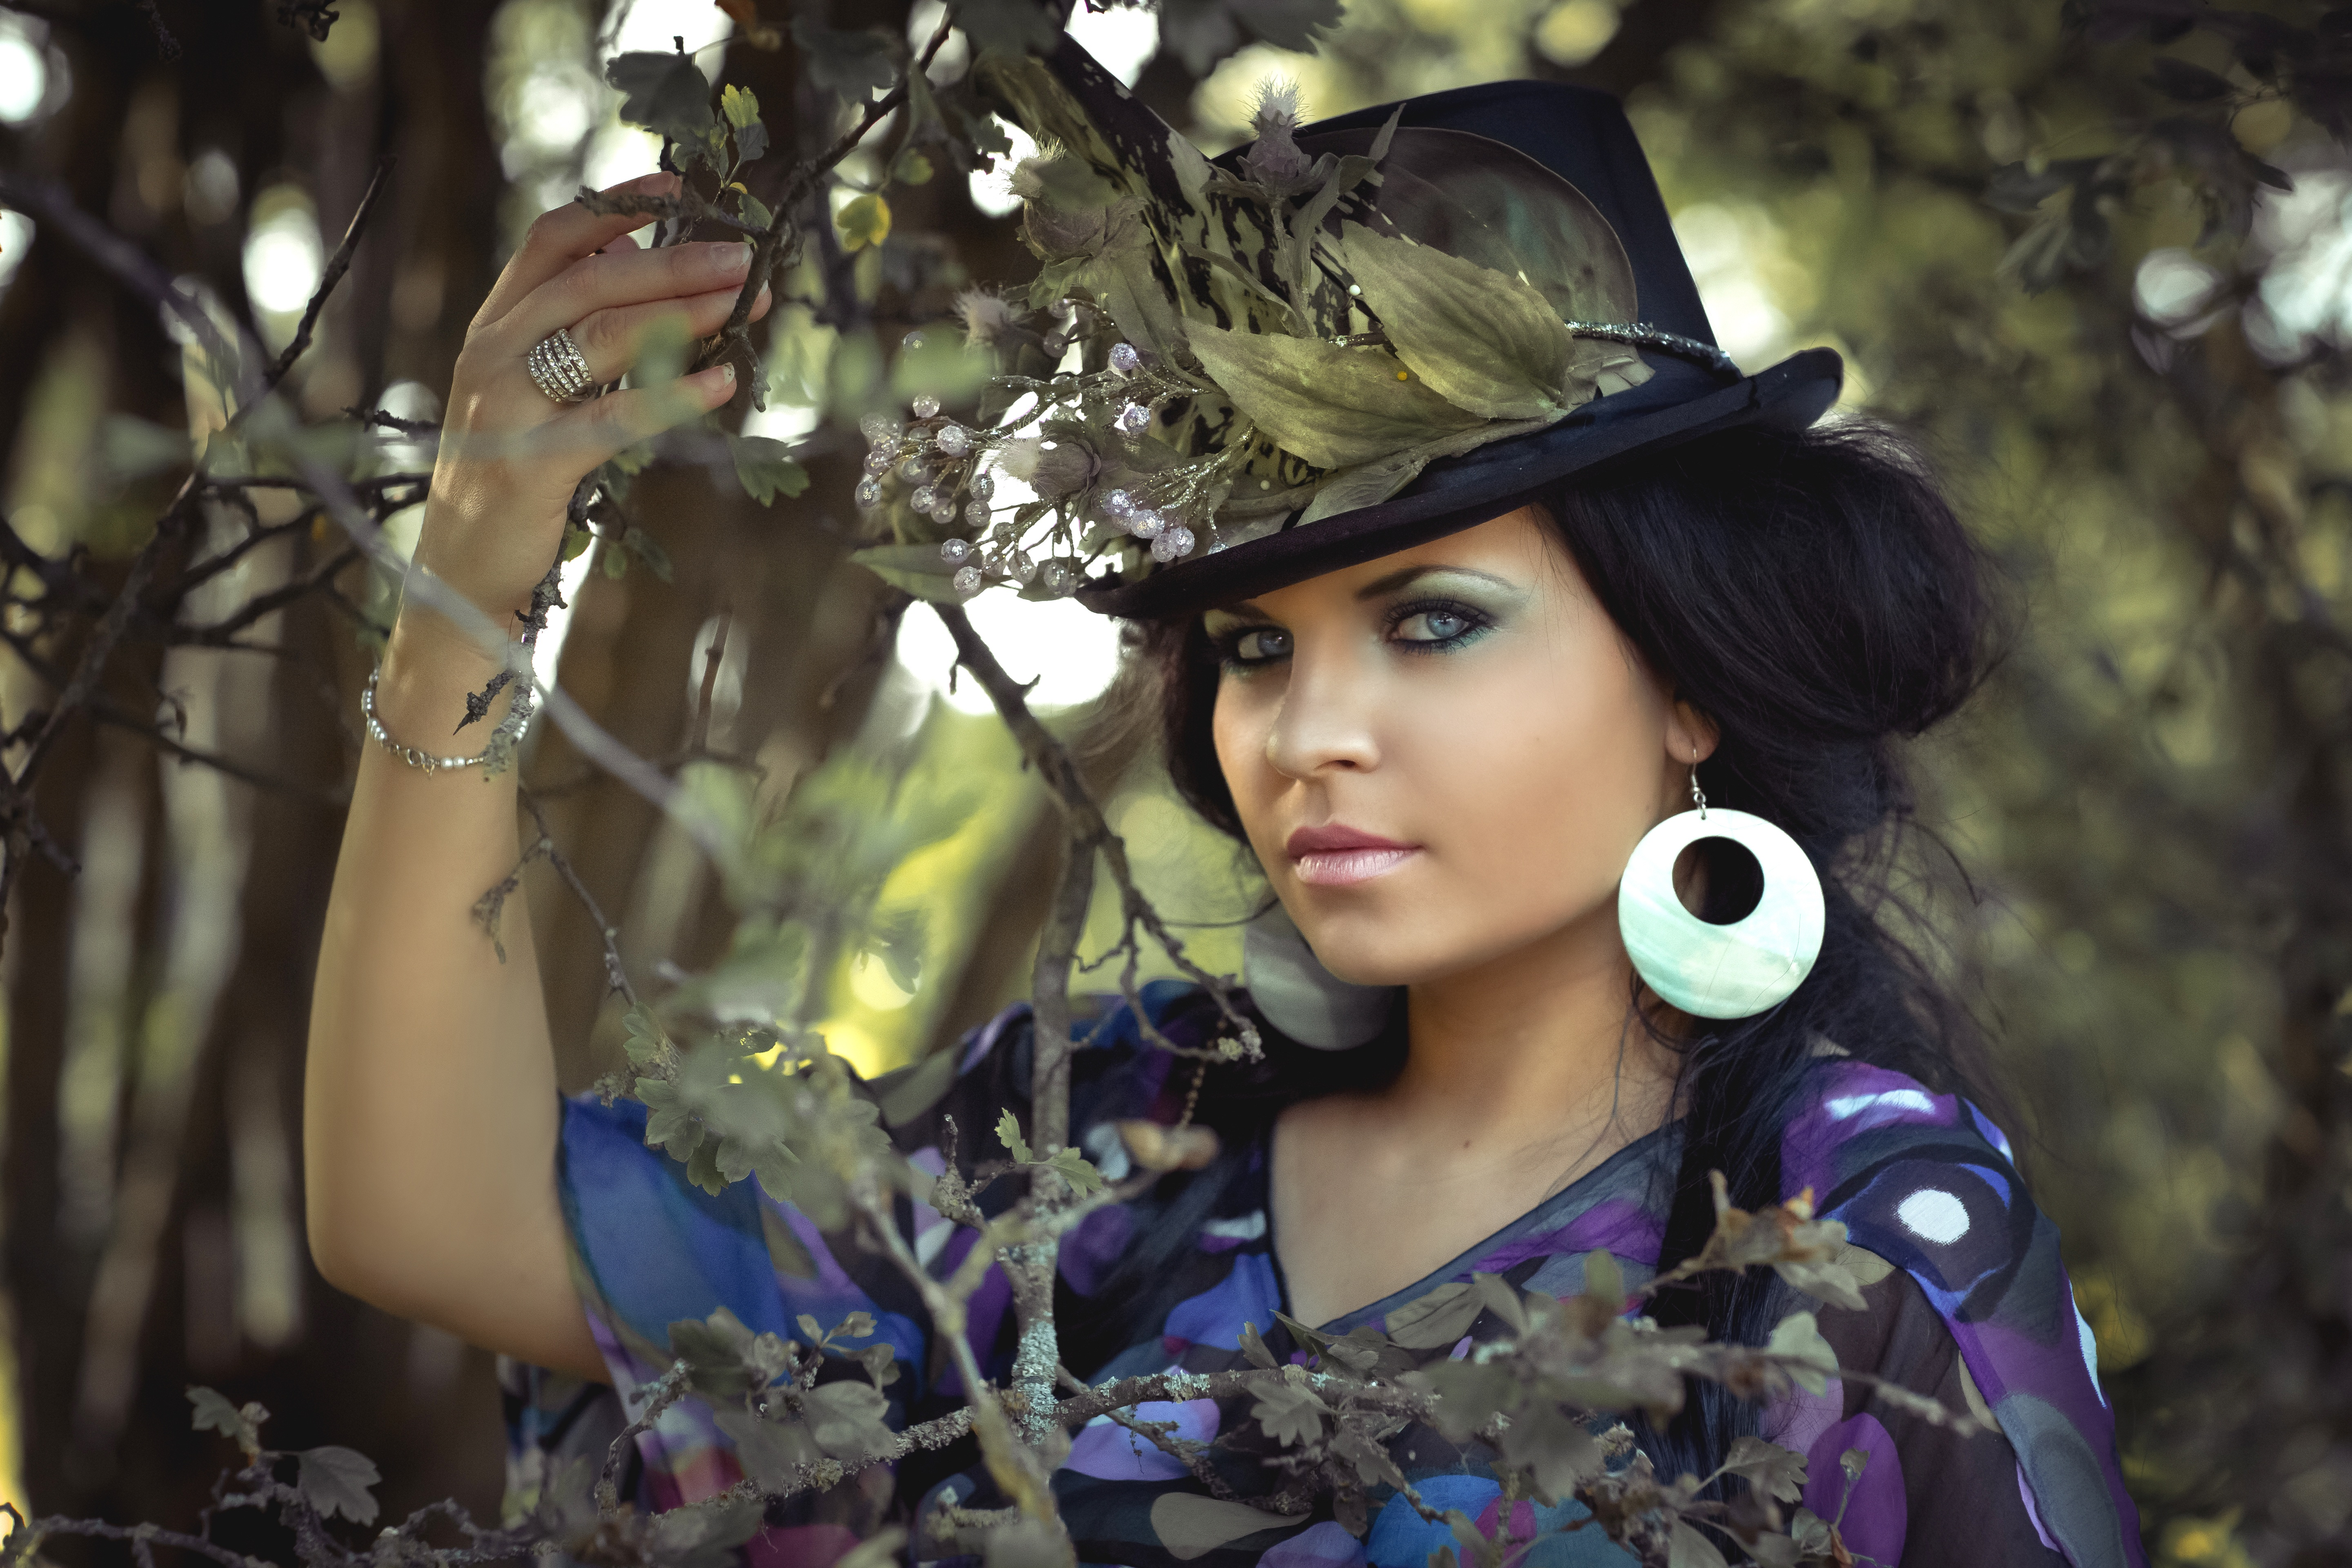
Give a portrait the Canon PowerShot G2 Vivid treatment, then compare Sampling on and off in native-size crops of the leaves and eye.

To get a digicam look on a photo you already have, open it with Canon PowerShot G2, choose Vivid, and lower Detail if the picture is already sharp. Sampling only changes inputs whose shorter edge is over 1704 pixels, so this example uses a 3600 × 2400 file.
This is a researched color and detail treatment. It does not add flash, a date stamp, or a 4:3 crop, and it does not resize the file to the G2’s 2272 × 1704 stills or reconstruct a CCD capture.
Try this portrait. It opens the photo with the settings below, animation off and playback paused at zero. Choose Use your own image to replace the sample while keeping the treatment.
Start from a large enough photograph
Use a PNG, JPG, or WebP. These effects process a finished image. They cannot recover clipped highlights or rebuild the camera that took the picture.
Download the practice photo (3600 × 2400). The shorter edge is 2400 pixels, above the 1704-pixel point where Sampling starts to act. A smaller file will not show that control.

Apply Vivid, then ease the sharpening
Open the example. In Active FX, use:
- Processing: Vivid
- Exposure (EV): 0.15
- Noise ISO: 200
- Detail: 22%
- Sampling: 100%
- Noise: 1.35
- Seed: 41
- Mix: 100%
Turn Animate: Canon PowerShot G2 off if you want a later frame to match this still.
Noise ISO is an artistic texture override. The original camera’s color-effect mode did not let you combine these controls independently. Detail is lowered here because the source is already a sharp photograph; raising it emphasizes edges that are already present. Read the G2 controls.
The camera-filter walkthrough compares this camera’s production defaults with the other five on a still life.
Compare Sampling at native size
Set Sampling to 0% and leave every other control. The export size stays 3600 × 2400. Sampling does not turn the picture into large pixels, and it does not change a file whose shorter edge is 1704 pixels or below.

The difference is small at fit size. These crops are 720 × 720, taken from 1980 pixels in and 520 pixels down, shown here at the captured pixels:


On a larger file the softening is easier to see. On this 2400-pixel short edge it stays subtle.
Export
Use Quick Export for a PNG. Export runs locally in your browser and is included. The website uses analytics, but your selected image is not uploaded. See the privacy policy.
The browser editor supports one image layer. This demo loads Cameras, Glitch, and Pixel, with Cameras first. Explore Artfkt for multiple image layers, all collections, text, and shapes.
For monochrome film-inspired treatments of this same portrait, see black-and-white film looks compared.
How this example was made
The photograph is a CC0 flower-hat portrait. Its creator is not identified on the source page. The original is 5760 × 3840, from a Canon EOS 5D Mark III, with prior processing unknown and existing high-ISO noise left in. We resized it proportionally to 3600 × 2400, a size in the range of a large phone photograph, so Sampling would have a short edge above 1704 pixels. It was not taken with a phone.
The pictures were rendered with the production Canon PowerShot G2 effect, animation off, at time zero. The crops were cut from those renders without further grading. This page was prepared with AI assistance and checked against the effect and the rendered files. The settings are for this example. They are not a camera match, and rendering can vary by device.
Make something unexpected
Keep exploring in Artfkt.
Bring all collections and multiple image layers together in one Mac studio. Build a look, shape its motion, and save your next starting point.