Compare Black-and-White Film Looks on a Photo
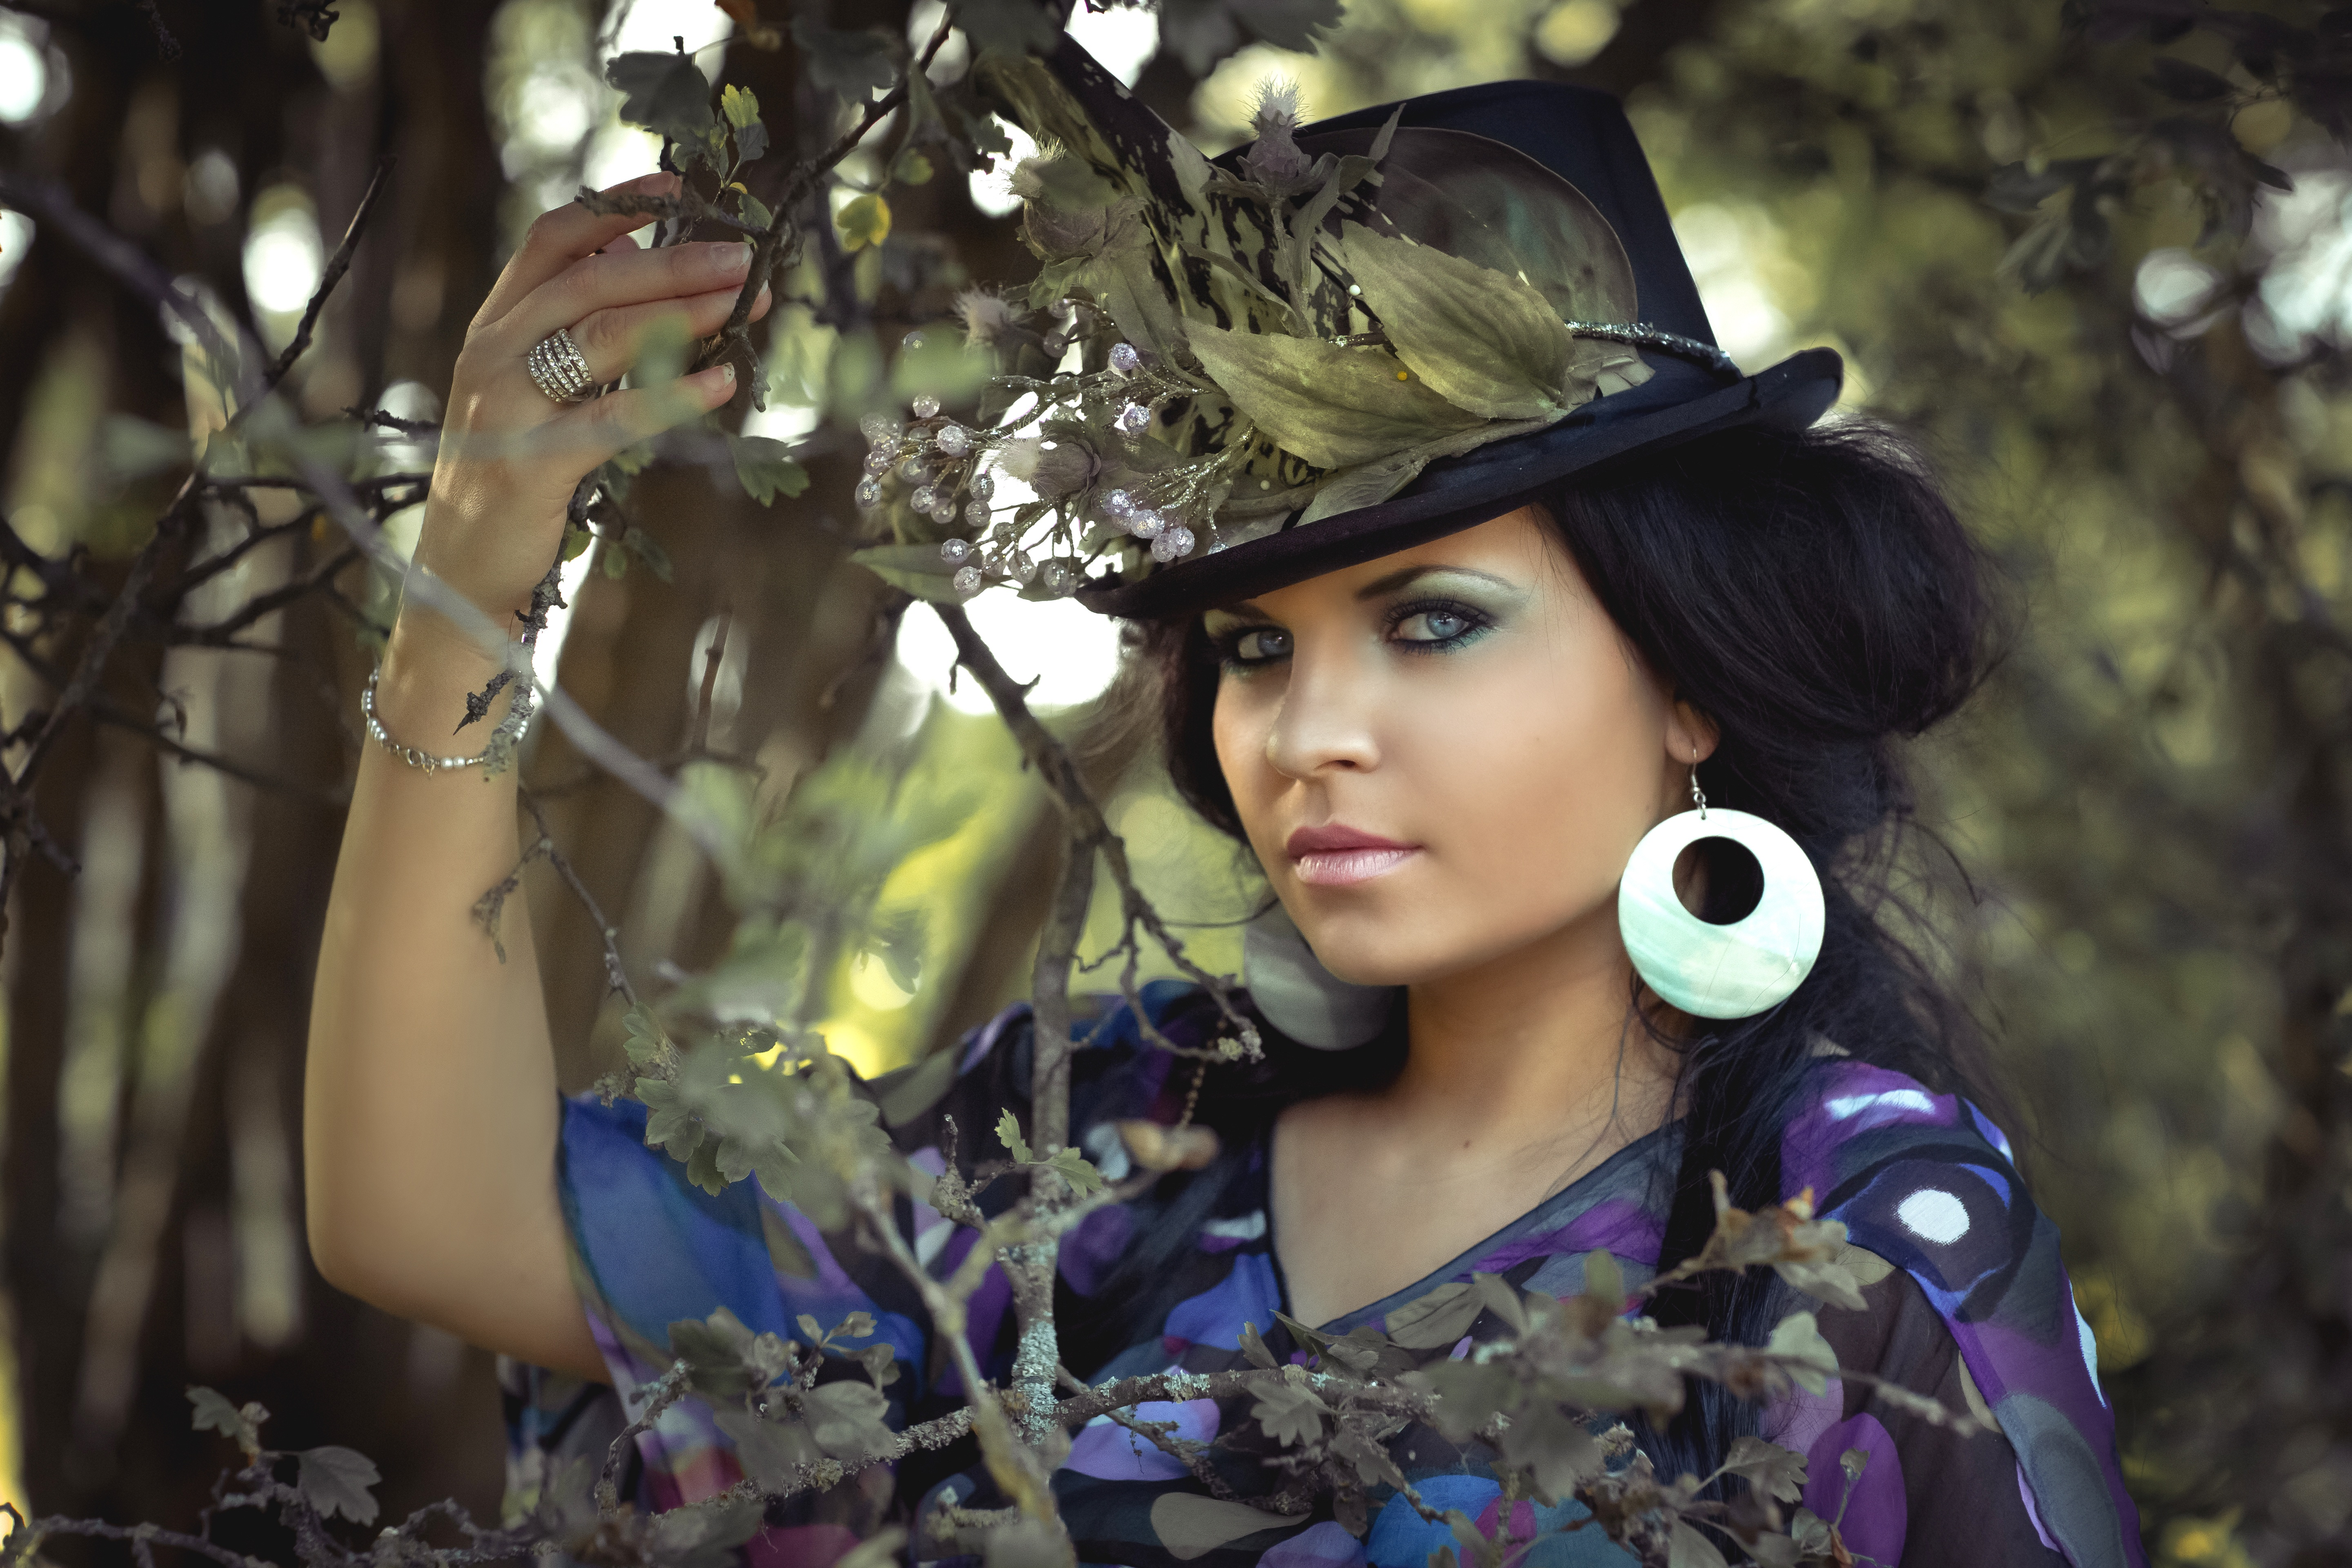
Compare Fujifilm ACROS, Nikon F3 HP5, Holga HP5 with an orange filter, and a provisional Polaroid SX-70 black-and-white look on one portrait.

These four black-and-white looks start from the same portrait, so the differences come from the recipe rather than from a new subject. None of them is calibrated against a real film stock, lens, or print.
Open the ACROS example. Each link below loads that camera with animation off and playback paused at zero. Lower Mix below 100% to blend the source color back in. The 65% example shows what that does.
Download the practice photo (3600 × 2400). The digicam walkthrough uses this file for color. The six-camera walkthrough compares production defaults on a different still life.

Fujifilm X100VI: ACROS
- Simulation: ACROS
- Exposure (EV): 0
- ISO: 800
- Clarity: 0%
- Highlights: 25%
- Grain: 0
- Noise: 1.25
- Seed: 17
- Mix: 100%
ACROS texture follows sensitivity and brightness. It is separate from the Grain control, so Grain 0 does not clear it while Noise stays above 0. ISO 800 here is the texture setting for this interpretation, not a claim about the camera’s file.
Set Mix to 65% and leave the rest. The dress and leaves pick up the source color again.

Nikon F3: HP5 / darkroom print
Try the F3 recipe · Read its controls
- Recipe: HP5 / darkroom print
- Exposure (EV): 0
- Lens Softness: 15%
- Output Contrast: 62%
- Grain: 1.00
- Seed: 17
- Mix: 100%

The look belongs to the lens, film, and output chain named in the recipe. It is not a measured HP5 curve.
Holga 120N: HP5 / orange filter
Try the Holga recipe · Read its controls
- Recipe: HP5 / orange filter
- Exposure (EV): 0.10
- Edge Softness: 55%
- Falloff: 50%
- Grain: 0.85
- Seed: 17
- Mix: 100%

The orange-filter direction uses approximate RGB weighting. It is not a spectral measurement of a glass filter. A subject in the corner is softened and darkened more than one near the center.
Polaroid SX-70: provisional black and white
Try the SX-70 recipe · Read its controls
This recipe is provisional. The reference material does not establish the stock, batch, body, and scan for a matched print. It is a monochrome treatment you can use, not a verified SX-70 black-and-white response. The effect also does not add a white instant-photo frame.
- Recipe: B&W / modern reference
- Exposure (EV): 0
- Diffusion: 40%
- Print Range: 62%
- Color Drift: 0%
- Unevenness: 12%
- Seed: 17
- Mix: 100%

Choose one, then export
Reopen an example link for a fresh setup. Adding a second effect stacks the treatments; it does not replace the first. Use Quick Export for a PNG. Export runs locally in your browser and is included. The website uses analytics, but your selected image is not uploaded. See the privacy policy.
The browser editor supports one image layer. This demo loads Cameras, Glitch, and Pixel, with Cameras first. Explore Artfkt for multiple image layers, all collections, text, and shapes.
How this example was made
The photograph is the same CC0 flower-hat portrait used for the digicam example: creator not identified on the source page, original 5760 × 3840 from a Canon EOS 5D Mark III, prior processing unknown, resized proportionally to 3600 × 2400. Each treatment was rendered separately with the production effect, animation off, at time zero. This page was prepared with AI assistance and checked against the implementations and the rendered files. Camera and film names identify the inspiration. No manufacturer endorsement is implied, and rendering can vary by device.
Make something unexpected
Keep exploring in Artfkt.
Bring all collections and multiple image layers together in one Mac studio. Build a look, shape its motion, and save your next starting point.