How to Add a 35mm Film Strip Border to a Photo Online
Wrap any photo in an authentic 35mm film strip border with sprocket holes and edge markings in your browser. Switch flat scan or curled object and export PNG free.
TL;DR
- Combine subtle Kodak FunSaver analog tone with 35mm Film Strip so the photograph matches its sprockets, edge fog, and frame numbers.
- Toggle Presentation between flat Scan negatives/positives and 3D Object curled multi-frame film strips with shadows.
- Open the 35mm film border recipe in your browser, upload your own photo, and export a PNG free.

To put an authentic 35mm film strip border around a photo without it looking like a flat graphic sticker over digital glass contrast, gently warm and grain the frame with Kodak FunSaver first, then wrap it in 35mm Film Strip (Presentation: scan or object). Open the worked 35mm film border recipe to frame your own image in your browser and export a PNG free.


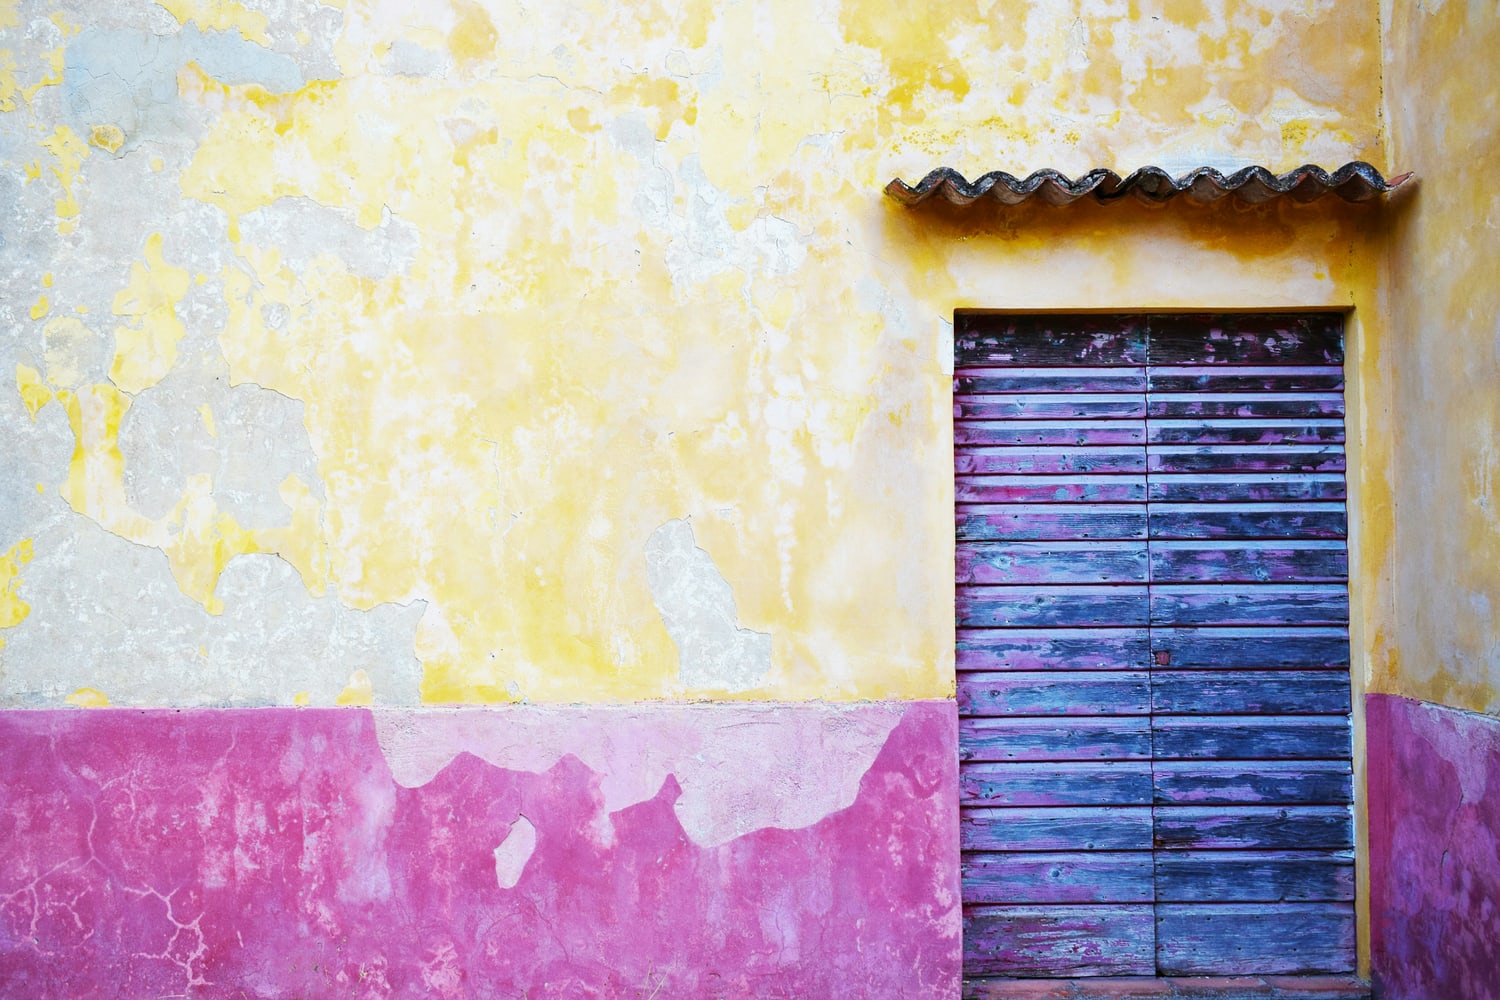
Frame your photo in a 35mm film strip. Click Open photo to load a portrait, travel frame, or street shot while keeping sprockets and markings active, or download the practice photo (1500 × 1000 JPG, Chris Barbalis via Unsplash). Looking for stronger disposable flash contrast or neutral silver B&W film? See our disposable camera tutorial and black-and-white film guide.
Flat scan border vs 3D curled negative strip vs orange C-41 mask
Pasted frame overlays lock you to one black bezel. By generating the sprocket strip geometrically inside WebGPU, 35mm Film Strip lets you swap presentation style, strip angle, frame count, and film chemistry without reloading your image:


- Presentation (
scanvsobject):scanfills cleanly across the frame like an Epson flatbed holder scan;objectpulls back over a textured studio surface (Background#ece8df) with Curvature, Tilt, Angle, and Shadow. - Orientation & Frames: match
horizontalorverticalstrip alignment to portrait vs landscape shots, and dial Frames (1to5) for multi-frame sequence banners. - Negative (
0..1): shifts positive slide clarity into orange C-41 negative film rebate tones (0.85shown above).
Add a 35mm film border to your photo in four steps
- Open the 35mm film border recipe and choose Open photo. All processing runs locally on your device (see how to use camera filters for detail).
- Expand Kodak FunSaver in Active FX if you want crisp neutral contrast (Mix down toward
0.30) or richer flash snapshot warmth (Mix up to0.90). - Expand 35mm Film Strip. Start with Presentation (
scanorobject), Strip Orientation (horizontalorvertical), and Strip Size (0.88keeps sprockets bold without shrinking your image too small). - Dial Edge Markings (
0.78), Edge Fog (0.18), Scuffs (0.24), and Dust (0.16) before clicking Export → PNG (turn off the default small watermark free anytime in Settings → Export Settings).
| Effect | Parameter | Value |
|---|---|---|
| Kodak FunSaver | Snapshot Contrast / Warmth | 0.45 / 0.14 |
| Kodak FunSaver | Flash Punch / Grain | 0.18 / 0.42 |
| Kodak FunSaver | Mix | 0.78 |
| 35mm Film Strip | Presentation / Orientation | scan / horizontal |
| 35mm Film Strip | Frames / Strip Size | 1 / 0.88 |
| 35mm Film Strip | Edge Markings / Edge Fog | 0.78 / 0.18 |
| 35mm Film Strip | Scuffs / Dust | 0.24 / 0.16 |
Can you export animated film frame advance?
The free browser demo renders still PNG exports and also lets you scrub Frame Advance or animate strip travel live on screen. Artfkt desktop adds direct video/loop export for moving Advance Rate (frames/s) contact strips, saved multi-project compositions, saved reusable Looks, masks, and all 392 effects.
Make something unexpected
No subscriptions. More room to create.
Bring all collections and multiple image layers together in one desktop studio. Build a look, shape its motion, and save your next starting point.
Pay US$29 once at launch (regularly US$39). Includes all current collections and Artfkt 1.x updates.
Future major upgrades are not included.