How to Make a Photo Look Like a Holga Camera
Give an existing photo a Holga look in the browser. Compare edge softness, corner falloff, and grain on the stairs, then export a PNG.

To make a photo look like a Holga, soften the edges, darken the corners, and add grain while leaving the center readable. Camera Filters’ Holga 120N effect adjusts those three qualities separately and exports the result in your browser.
Try the Holga example. It opens the practice photo with the settings below. Choose Use your own image to apply the same treatment to another photo. Browser editing and export are free.
This is an artistic interpretation of a finished photograph. It does not recreate a particular Holga camera, add a light leak, crop the picture to a square, or recover focus and clipped highlights. Holga names the inspiration. No manufacturer endorsement is implied.
Start with a photo that has detail in the corners
A centered subject can hide what a plastic lens does. Choose a photograph with edges, texture, or a shape that continues toward the frame, so softness and darkening have something to change.
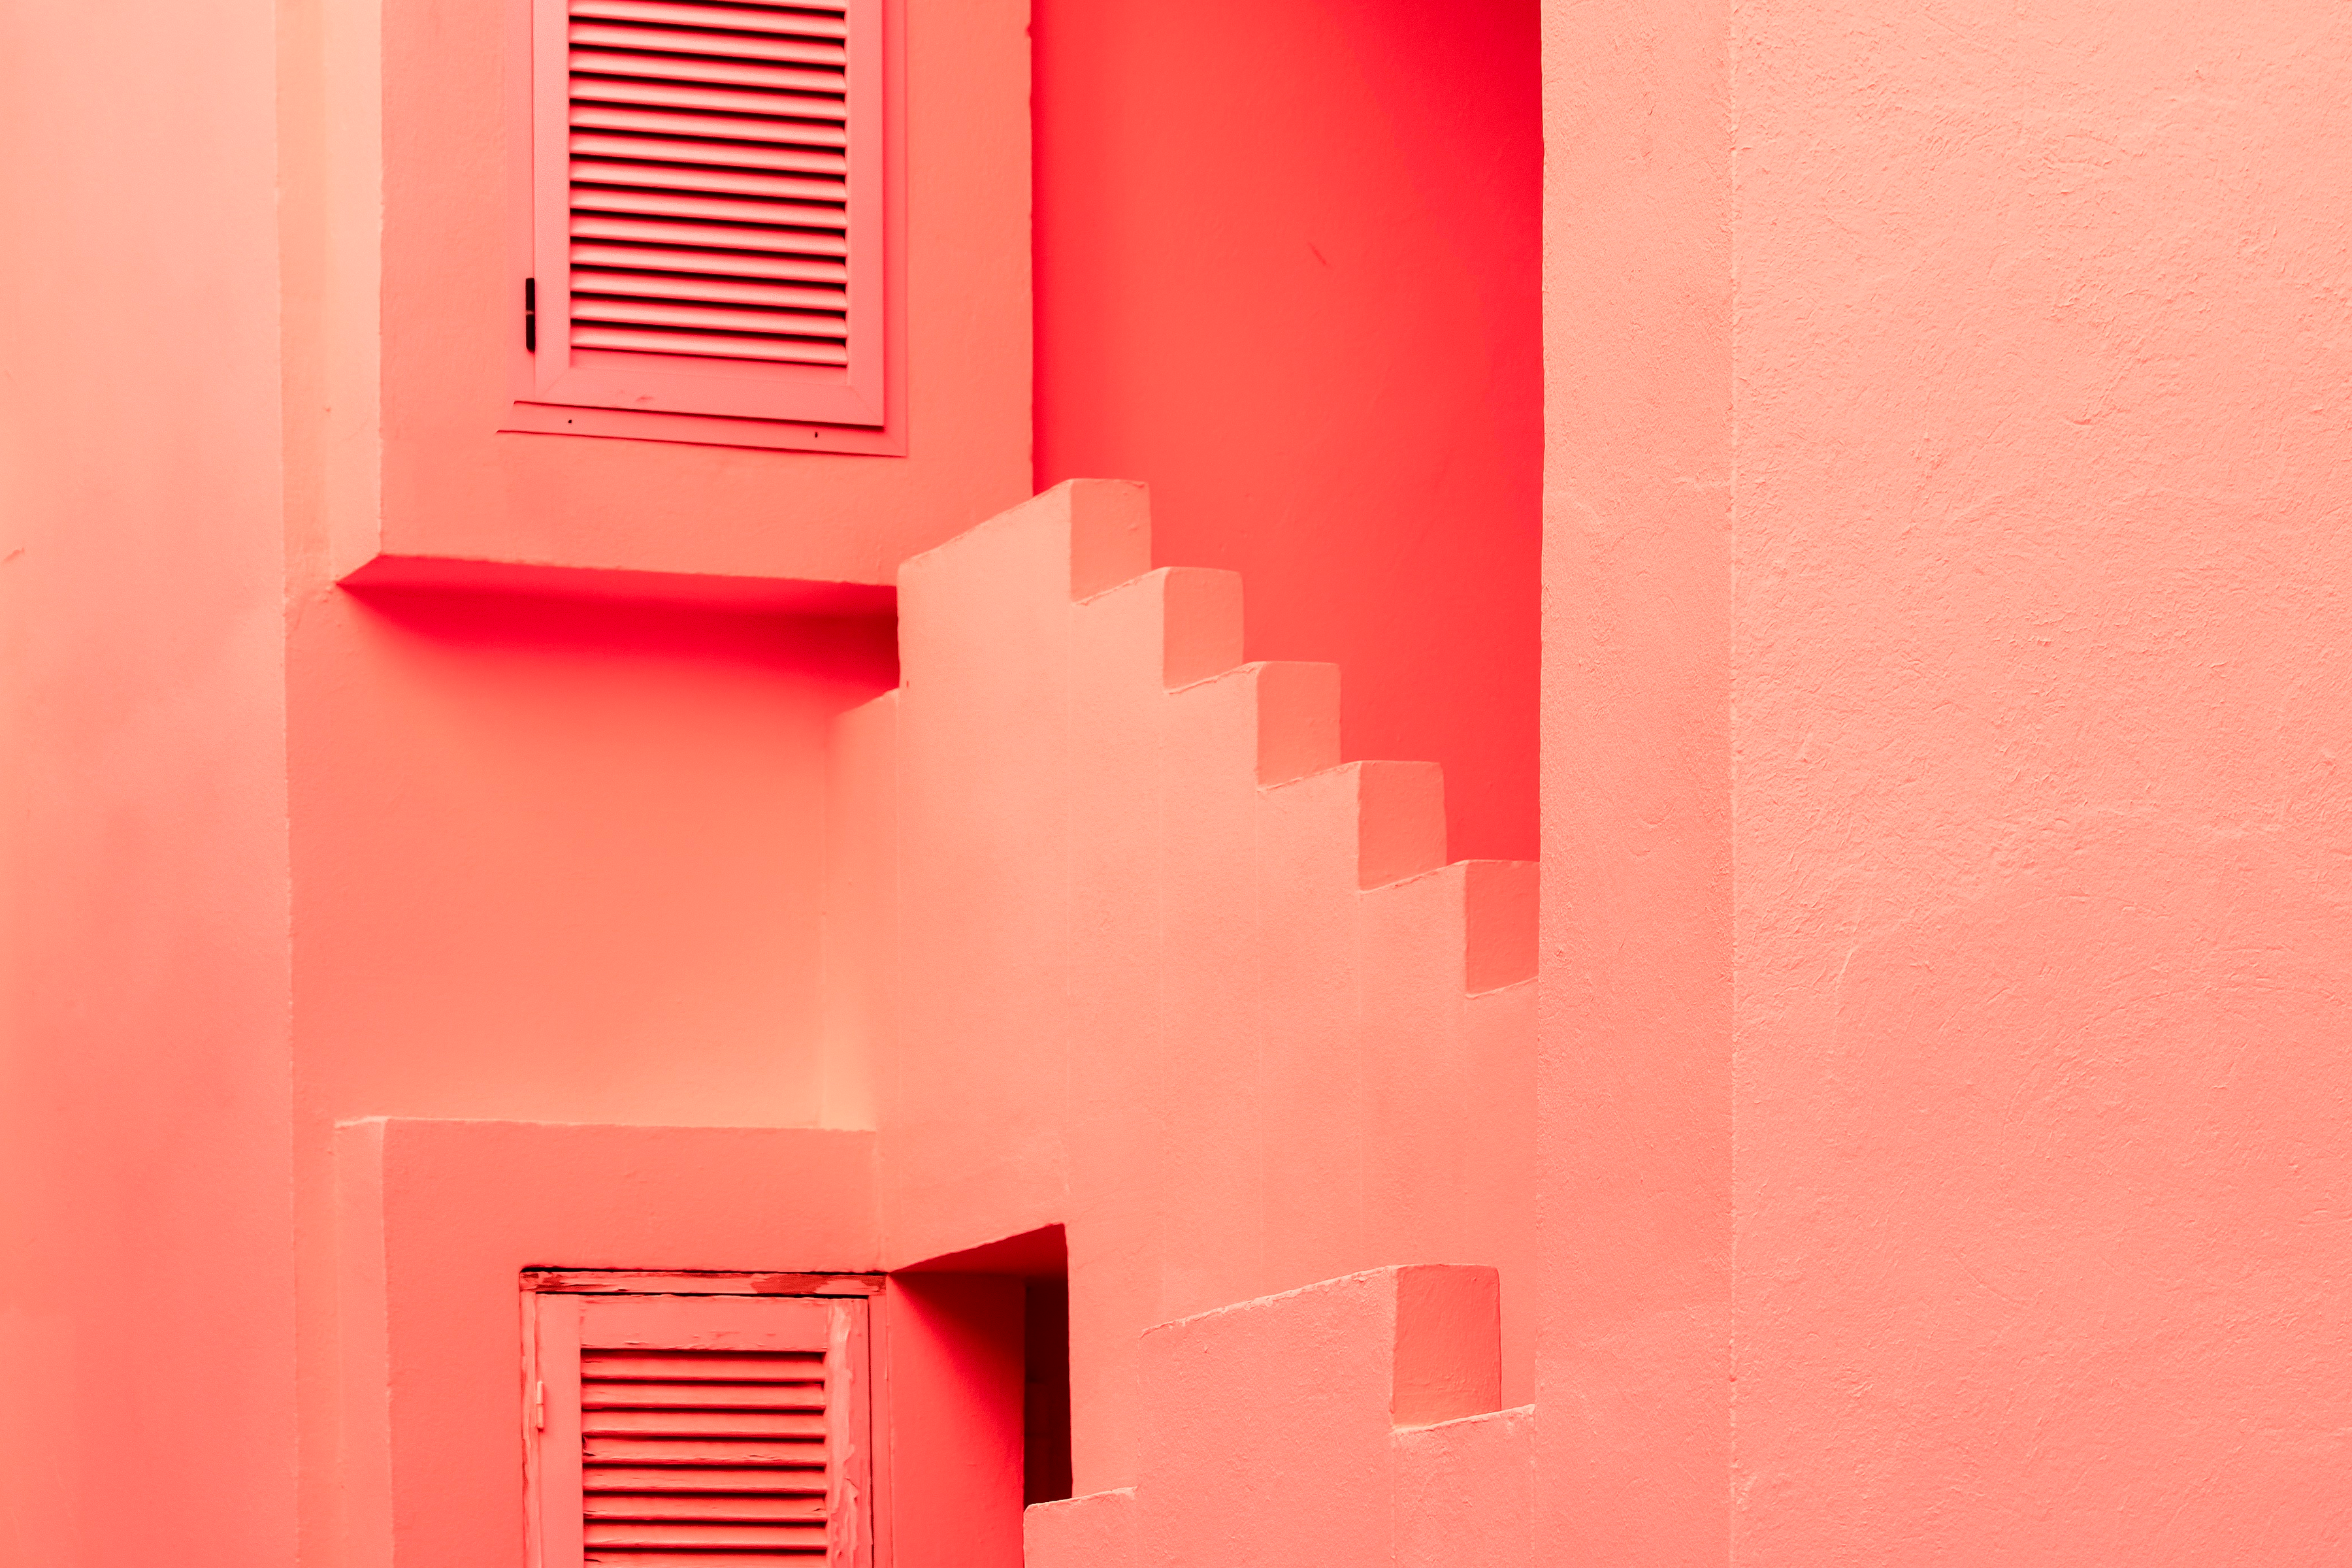
This tutorial uses a daylight photograph of stairways and shutters. The stairs sit away from the middle of the frame, which makes the corner treatment visible without pretending the picture was shot on 120 film.
Download the practice photo
(PNG, 3600 × 2400). Keep the original framing and dimensions for these comparisons.

The source. Sharp stair edges and the rough wall on the right are already in the photograph.
Apply the Holga settings
Open the worked example, expand Holga 120N in Active FX, and use:
- Recipe: Portra 400 / neutral scan
- Edge Softness: 85%
- Exposure (EV): 0
- Falloff: 45%
- Grain: 1.10
- Seed: 17
- Variation rate: 0
- Mix: 100%
These are the effect’s current color defaults, with a fixed texture seed. Keep Motion: Holga 120N off and playback paused at zero.
The baseline treatment. The center of the stairs stays readable while the outer frame softens and darkens.
For your own image, adjust Exposure first if the input is too bright or dark. Exposure cannot restore highlight detail that is already missing. Keep the center recognizable, then raise Edge Softness or Falloff only as far as the corners still serve the picture.
The best values depend on the photograph. These settings demonstrate this particular source rather than prescribing one look for every photograph.
Compare softness, falloff, and grain separately
The following matching 720 × 720 crops come from the full-resolution renders, starting 1750 pixels from the left and 550 from the top. They take in the outer stair edges and the wall at the right. No extra sharpening or grading was applied.

Turn off Edge Softness
Set only Edge Softness to 0. The stair edges become crisper. Grain and the darker shading toward the right remain. Turning softness off does not recover detail that was never in the source.

Turn off Falloff
Restore Edge Softness to 85%, then set only Falloff to 0. The right side of the crop lightens. The stair edges stay soft, and the grain stays. Falloff darkens the outer frame. It does not add a colored leak or a new light source.

Turn off Grain
Return to the baseline, then set only Grain to 0. The added texture leaves the flat wall and the faces of the steps. The rough surface on the right is part of the photograph, so it remains. This control is not a denoiser.

Edge Softness, Falloff, and Grain are different choices. Use softness for the edges, falloff for the shaded corners, and grain for texture, then compare with the source using Mix. Read the Holga 120N control reference for every control and its limits.
Color recipe or black and white?
Portra 400 / neutral scan keeps this photograph in color and adds the format-aware grain used above. HP5 / orange filter is a separate monochrome interpretation. Follow the black-and-white film comparison and open the Holga HP5 example to see that path on the same stairs. Neither recipe is a measured film curve.
A disposable-camera treatment and an early digital-camera treatment make different choices about contrast, flash-like tone, and sampling. Those workflows are the disposable-camera tutorial and the digicam-look tutorial. The camera-filter walkthrough compares several cameras on one concert photograph.
Export the photo
Choose PNG in Quick Export, save the image, and check it at the size you intend to share. Browser export is included. This recipe treats the photo itself. It does not add a film border, a light leak, or a square crop.
Your selected image stays on your device: editing and export run locally in the browser. The website uses analytics, as explained in the privacy policy.
Try the recipe on your own photo. The browser supports up to three image, text, or effect layers. Artfkt for Mac adds larger compositions, saved projects, and the full collection library.
How these examples were made
Artfkt rendered the stair photograph with its production Holga 120N effect on WebGPU at 3600 × 2400, with motion disabled, Seed 17, and time zero. Each comparison changes one control from the stated baseline. The full-frame display copy is reduced to 1600 pixels wide. The detail crops retain the rendered pixels.
The source is Lena Polishko’s photograph of La Muralla Roja, used under the Unsplash License. The original is 4160 × 6240, photographed with a Canon EOS 6D Mark II, with prior processing unknown. A landscape crop of the stairways and shutters was resized to 3600 × 2400. These examples were processed with the actual effects. The article was prepared with AI assistance and checked against the implemented controls and rendered outputs. Results can vary by source and device.
Make something unexpected
Keep exploring in Artfkt.
Bring all collections and multiple image layers together in one Mac studio. Build a look, shape its motion, and save your next starting point.