How to Use Camera Filters on a Photo
Compare six digital and film camera-inspired treatments on the same photo. Load a licensed still life, choose a recipe, adjust Exposure and Mix, and export.

To apply a camera-inspired filter, open a photo, choose a camera and its processing recipe, then adjust Exposure and Mix before exporting. This walkthrough uses the same still life for all six cameras, so you can compare their treatments without changing the subject.
Try the still-life example. It opens the photo with the Canon PowerShot G2 production defaults, animation off and playback paused at zero. Choose Use your own image to replace the sample while keeping your treatment.
Start with a photograph you can judge
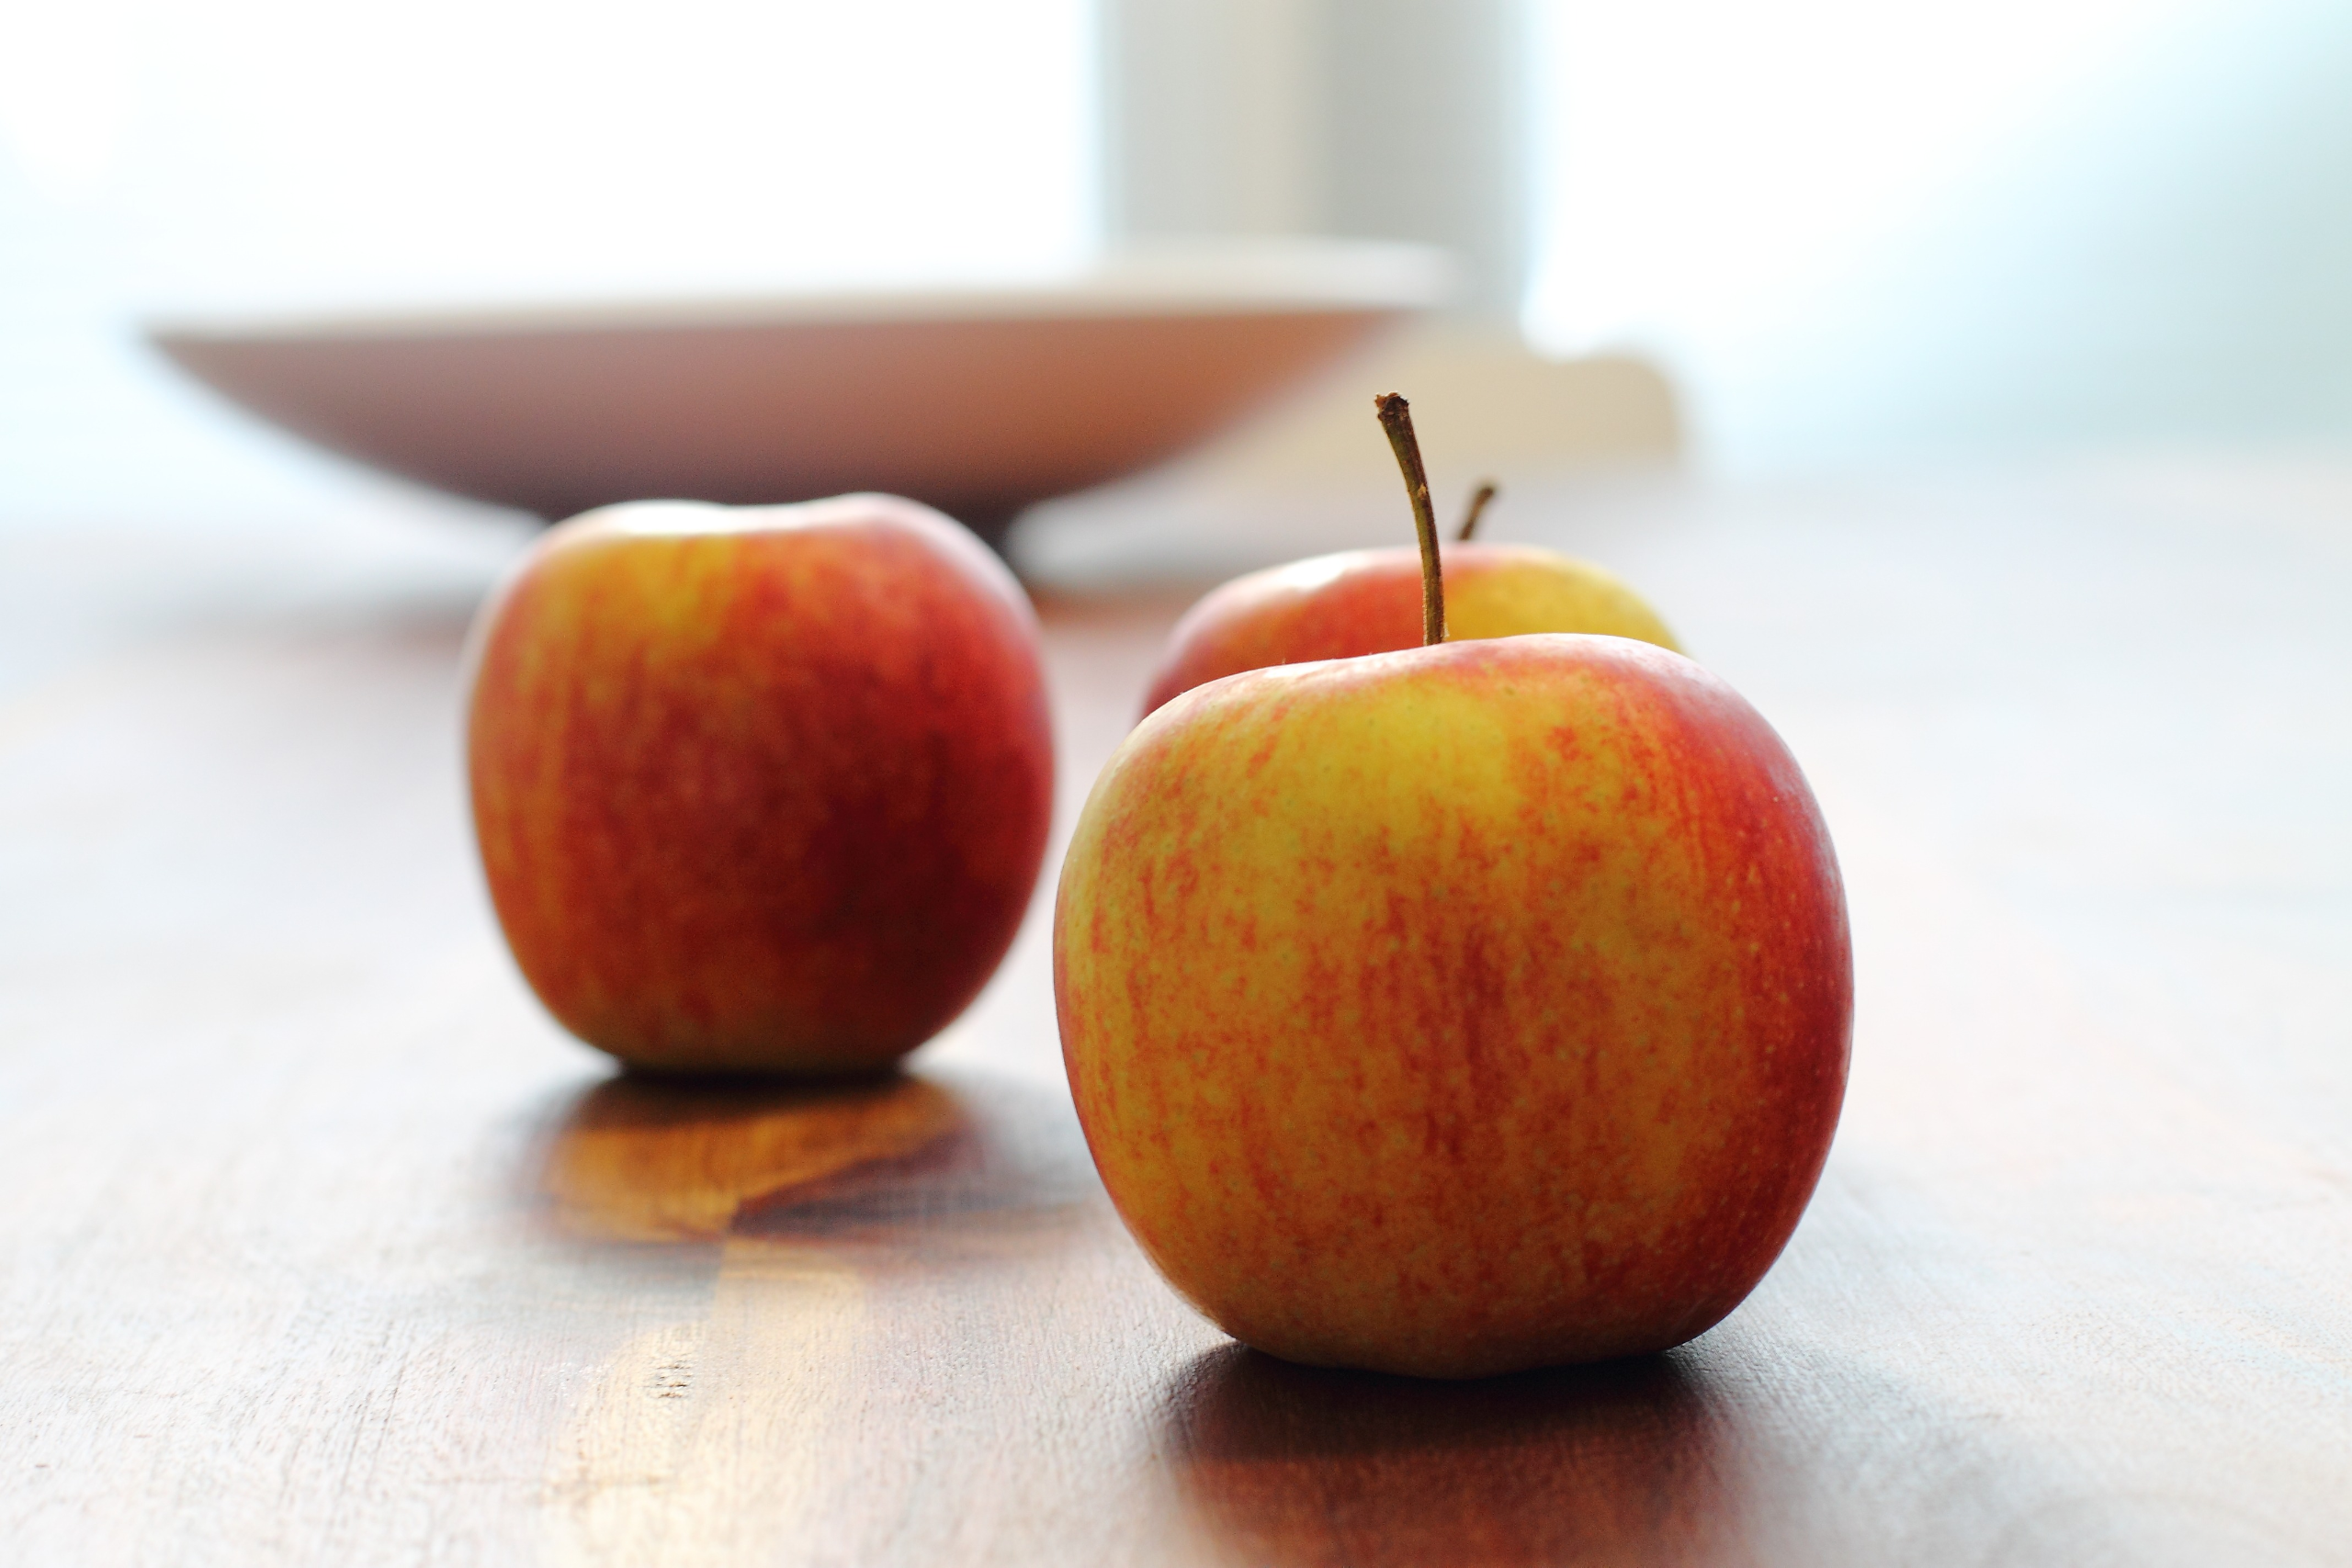
Use a PNG, JPG, or WebP with useful highlights, shadows, and detail. These effects process a finished image; they cannot recover clipped highlights or reconstruct the camera’s original sensor data. Our example is a 2560 × 1707 image with no crop, rotation, or added layers.
Download the practice photo
.

Original — compare the red fruit, highlights, table edges, and table shadows.
Choose one camera at a time
The examples below use Exposure 0, Mix 100%, Seed 17, and each camera’s other production defaults. The links load a fresh single-camera example. Adding a second effect inside the editor stacks the treatments; it does not replace the first one.
Canon PowerShot G2: compact-camera color
Start with Processing: Vivid, Noise ISO: 50, Detail: 50%, Sampling: 100%, and Noise: 1. Inspect the red apples and edges. Sampling represents finite detail bandwidth; it is not a large-pixel mosaic. Its contribution is easier to inspect on this larger source than on a thumbnail.
Try Canon PowerShot G2 · Read its controls
Noise ISO is an artistic texture override. The original camera’s Color Effect mode did not support the independently selectable settings suggested by combining these shader controls. This is a researched interpretation, not an exact hardware simulation.
Fujifilm X100VI: softer color and separated shadows
Start with Classic Chrome, ISO 125, Clarity 0, Highlights 25%, Grain 0, and Noise 1. Compare the color restraint and shadow separation with Canon. The ACROS option is monochrome; its sensitivity- and brightness-dependent texture is separate from optional Grain, so Grain zero does not remove all ACROS texture.

Try Fujifilm X100VI · Read its controls
Sigma DP2 Merrill: fine-detail separation
Start with Standard, ISO 100, Detail 70%, Luma Noise 1, and Chroma noise 1. Compare the table edges and small surface details against Canon at native size. Sigma’s luminance and chroma texture are independently adjustable; neither control reconstructs missing detail.

Try Sigma DP2 Merrill · Read its controls
Nikon F3: a lens, film, and output recipe
Start with Portra 400 / neutral scan, Lens Softness 15%, Output Contrast 50%, and Grain 1.15. Look for mild softness and restrained film texture. These characteristics belong to the specified capture and output chain; the F3 body itself does not create a unique color response.

Try Nikon F3 · Read its controls
Polaroid SX-70: diffusion and print tones
Start with the Color / 2021 reference recipe, Diffusion 50%, Print range 70%, Color drift 0, and Unevenness 10%. Compare the softened highlights and compressed dark tones. The effect treats the photograph; it does not add a white instant-photo frame. Its B&W print target is provisional. The research’s “2021” label dates the reference, not a verified film formulation.

Polaroid SX-70 — modern color-reference interpretation, production defaults.
Try Polaroid SX-70 · Read its controls
Holga 120N: center-to-corner character
Start with Portra 400 / neutral scan, Edge softness 70%, Falloff 65%, and Grain 1. Compare the center with the frame edges. A subject placed in a corner will be softened and darkened more than one near the center.

Try Holga 120N · Read its controls
Adjust exposure, then blend
Open the camera in Active FX. Leave its recipe selected and try Exposure (EV): 0.25, then return to 0 to compare. Exposure changes the image’s brightness before the treatment; it cannot recover highlight detail already absent from the source.
Next, lower Mix from 100% to 65% to blend some original color and detail back in. Use Undo and Redo to compare the edit. Mix 0% returns the original input. Changing the processing recipe preserves your other edits; double-click a numeric control to restore its default. Reopen an example link for a fresh camera setup.
Keep grain separate from shutter speed: these still-image treatments do not simulate scene motion or a new exposure in the original camera.
Use your own image and export
Choose Use your own image after loading an example. A portrait or painting may need different settings from this still life. Inspect at fit size for composition and at native size for fine texture; grain does not need to become oversized to read in a thumbnail.
Use Quick Export for a PNG, or open the export settings for the available formats and dimensions. Export runs locally in your browser and is included for free. The website uses analytics, but your selected image is not uploaded. See the privacy policy.
The browser editor supports one image layer and the Cameras collection. Explore Artfkt for multiple layers and all collections.
Source and reproduction limits
The apple still-life photograph is offered under CC0; its creator is not identified on the source page. The downloaded original is 4272 × 2848. We resized it proportionally in the browser and saved the sample as PNG. Prior processing of the source photograph is unknown.
All six examples were rendered independently from that sample using the production effects, WebGPU, Seed 17, and paused time zero, without pixel retouching. Fine texture can differ between graphics backends and devices. These examples show authored approximations on a common input, not matched-camera fidelity measurements. Camera names identify the inspiration; no manufacturer endorsement is implied. This tutorial was prepared with AI assistance and reviewed against the implementation and rendered examples.
Make something unexpected
Keep exploring in Artfkt.
Bring all collections and multiple image layers together in one Mac studio. Build a look, shape its motion, and save your next starting point.